Yesterday I had to repair a wildly blinking QNAP NAS TS-212 that could not be accessed via HTTP Web UI or SSH. Also the system rebooted regularly and it was not clear why … Also googling didn’t get me anywhere, except wild speculations in all possible directions. Hmm… in a case like this, you wish you had the good old serial console, which gives you more insight into the system.
The precautionary note: Everyone tinkers at their own risk! You should also have some previous knowledge to be able to carry out the steps described here successfully! So, don’t whine if you cause a short circuit or something like that and you have ruined your QNAP! 🙂
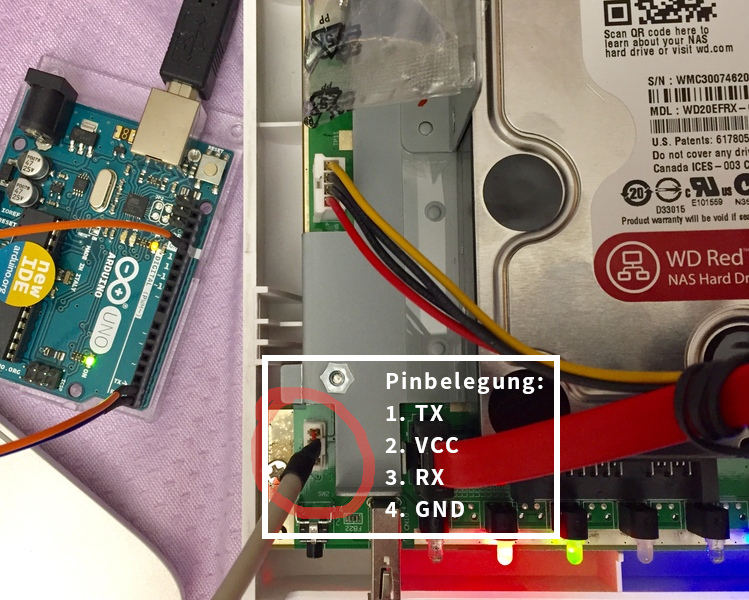
After unscrewing the case the positive surprise: On the mainboard you can actually find a 4-port connector, which according to the information in the net actually points to a RS-232 interface. On my model TS-212 the connector is labeled CN9. It is a 3.3V TTL connector and the four pins are TX, VCC, RX, GND.
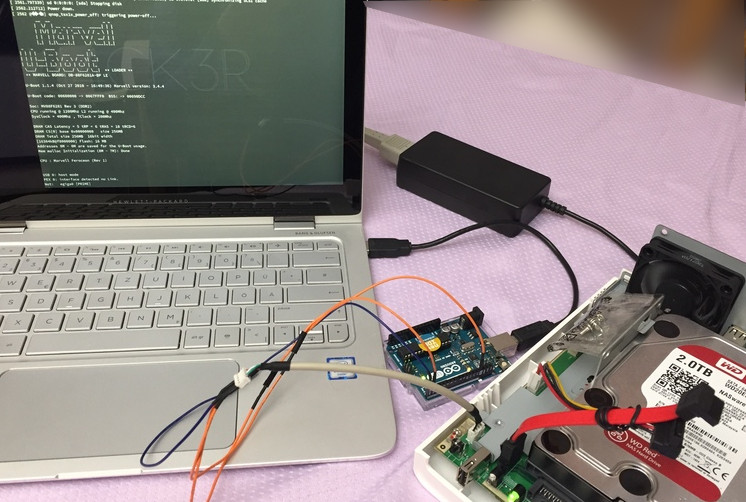
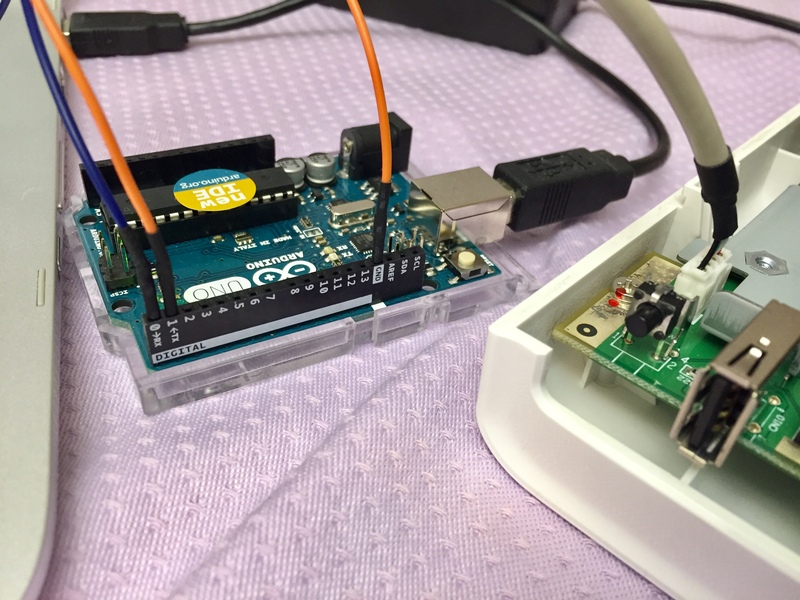
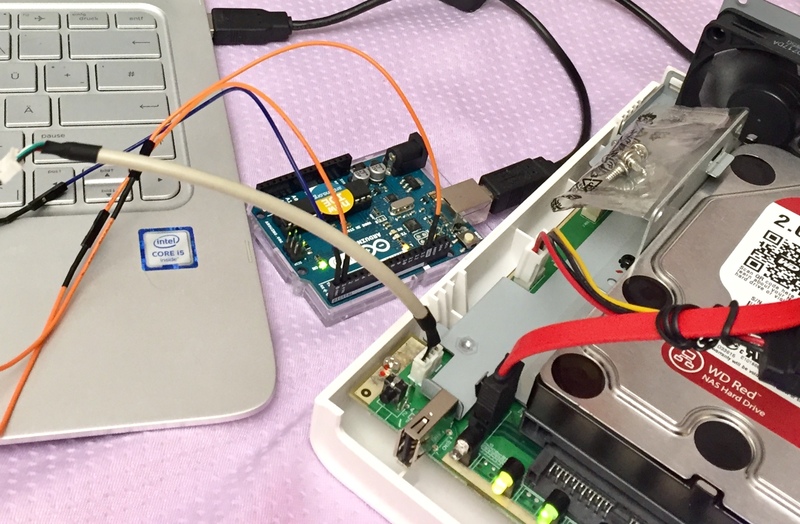
Now the only question is, how can I tap the serial port and use it on my laptop via serial-USB adapter? The solution: An Arduino Uno board brings everything I need! On one side we have a digital input strip with connectors for RX, TX and GND and on the other side we have the USB connector to connect it directly to the laptop. With a small adapter cable the connection works easily (see picture).
Then I start the program Minicom on my Linux laptop with the Arduino port /dev/ttyACM0 and with the terminal settings VT102, 115200 Baud, 8N1. And lo and behold, immediately I have the entire output of the QNAP boot process in my terminal.
This now offers me much better possibilities for error analysis. Furthermore, I can also intervene in the boot loop by pressing any key shortly after the reboot when “Marvell UBoot” is displayed. There are some system commands available here that might help.
Leave a Reply